Installation Guide
What you'll need
-
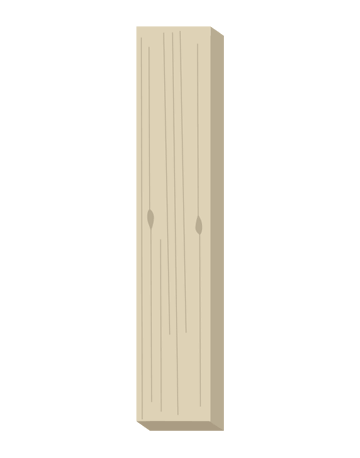
Wood Block
-
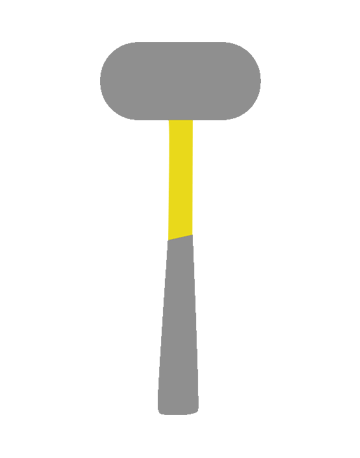
Hammer
-
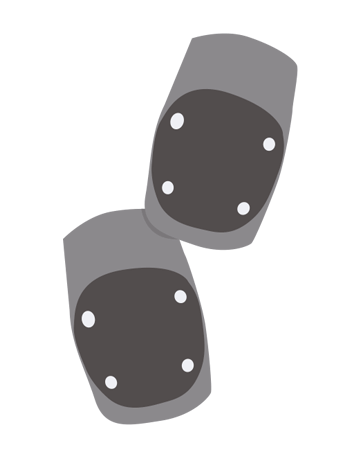
Knee Pads
-

Safety Glasses & Gloves


Prepare
Step One
Use an edger or shovel to help loosen the soil and define the path where edging will be installed.
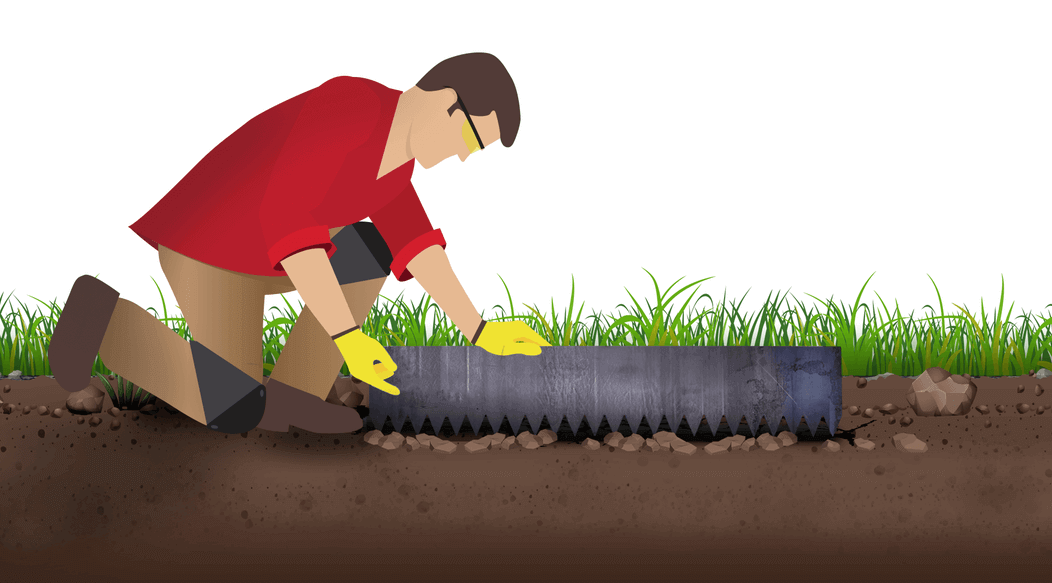
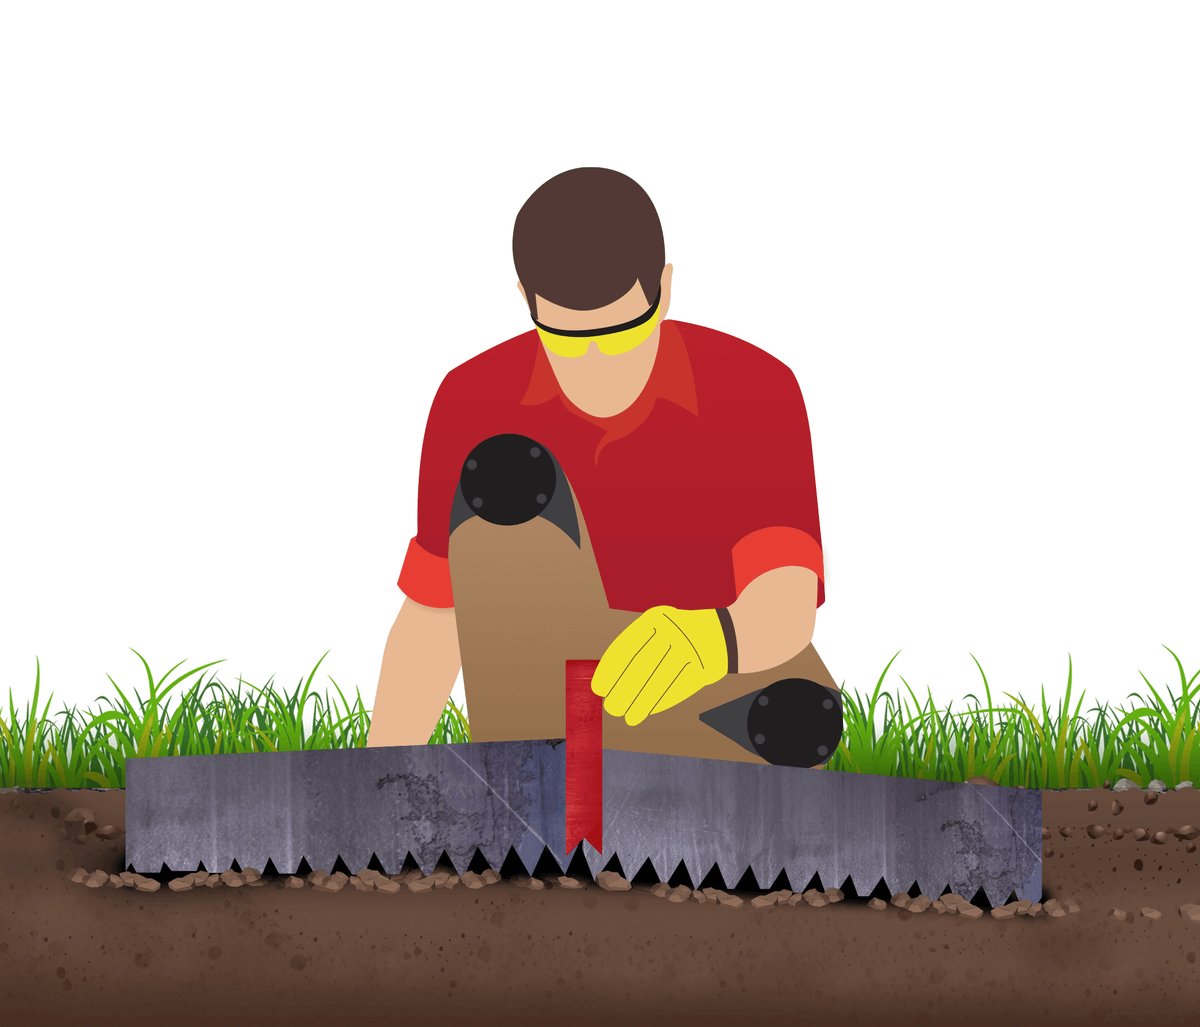
Position
Step Two
Position the edging with the teeth down along the defined path. Typically it's best to start in the most visible corners if you have them. This way any filler pieces are away from the focal points.
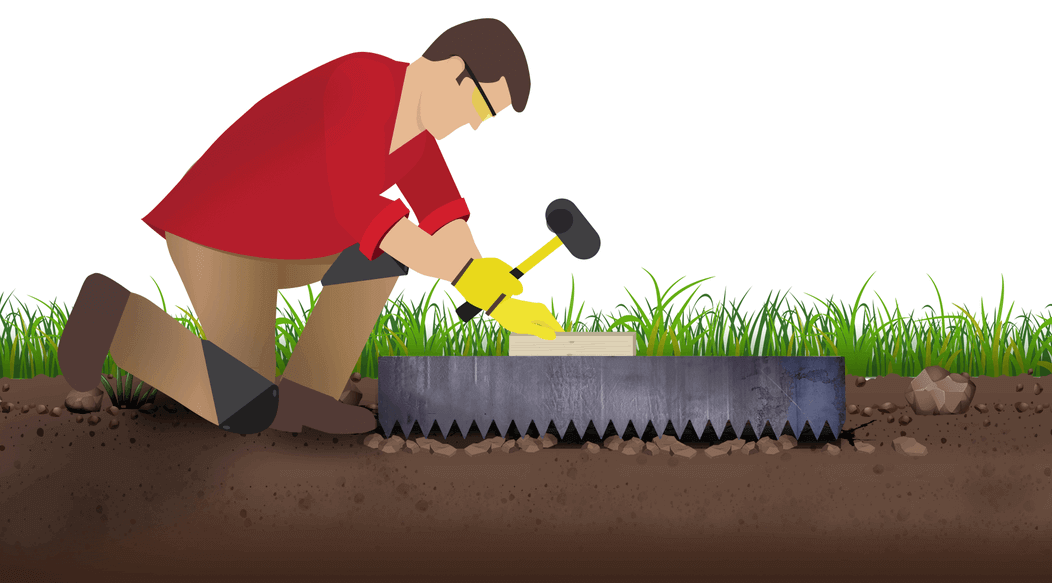
Hammer
Step Three
Place wood block over the spine of the edging and drive down with a hammer.

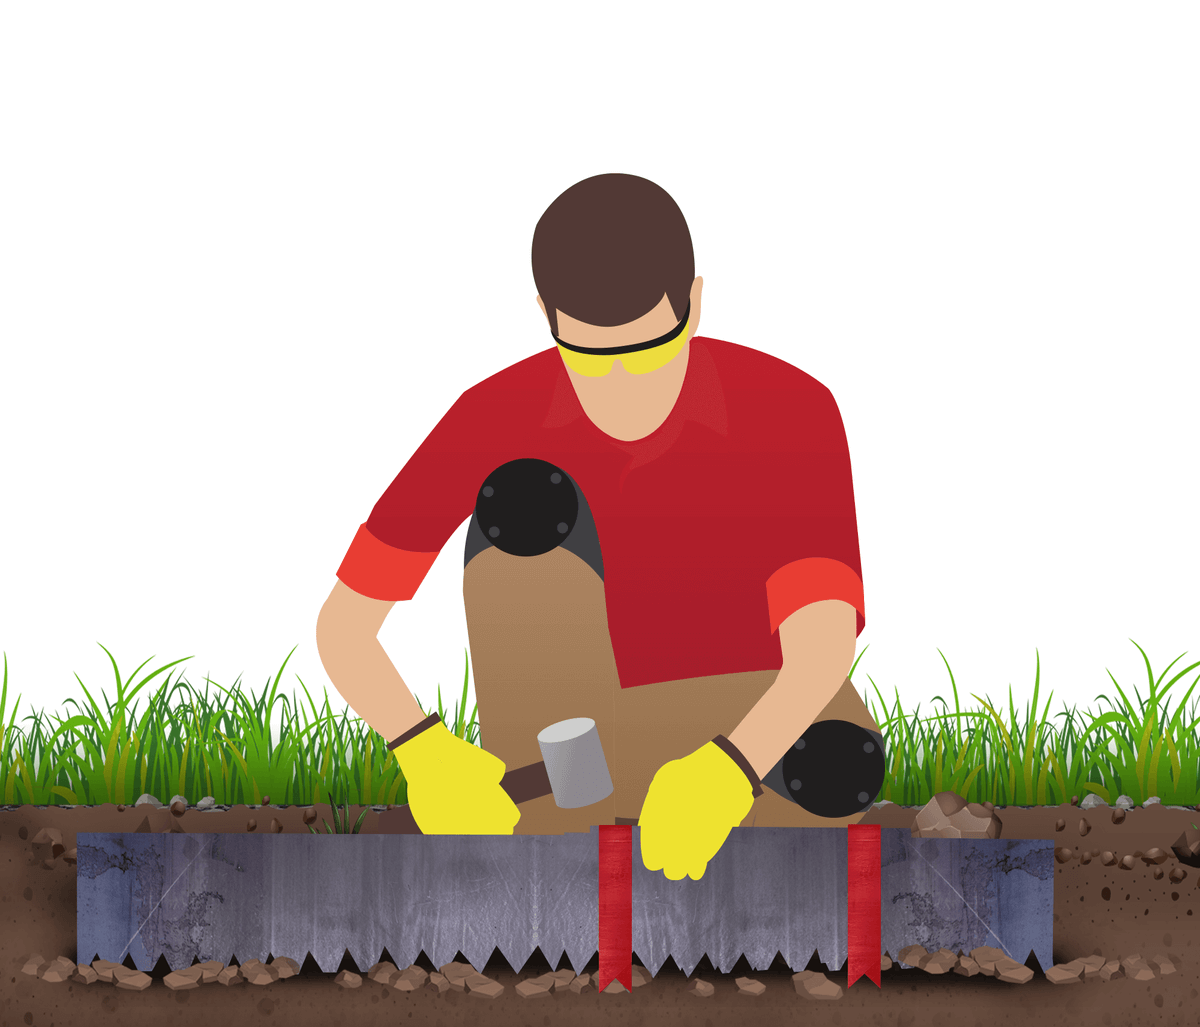
Connect
Step Four
Place edging end to end, attach clamp between the notch on both ends. Drive down to secure clamp.
Bending
-

Sharp Bends
Place the block across the valley of the teeth, bend material to the desired angle while applying pressure to the block. Note: For best appearance, use our Corner Connectors.
-

Gradual Bends
Stand the material on end and apply pressure to the middle in order to flex the material to the desired radius.


Elevation Changes
You can accommodate for slight hills or elevations changes by gaping the material at the joint and using the connector to cover the space.
Achieving Exact Length
Edge Right steel landscape edging can be cut to length using standard metal cutting tools.
However, for added convenience and flexibility, we now offer short filler pieces in 24, 12, 6, and 4 inch lengths. These allow you to easily achieve your desired finished length without the need for cutting or overlapping. Simply select the appropriate filler piece size to seamlessly complete your edging project. Always point teeth away from you